
Assets
Searching Assets
Use searching assets in Oraphim with a production-safe workflow, practical example, verification steps, and common failure checks.
Updated August 28, 2026Searching assets
Choose Images or Videos, then enter a concrete description such as forest path, city skyline, or light leak.
Visual reference
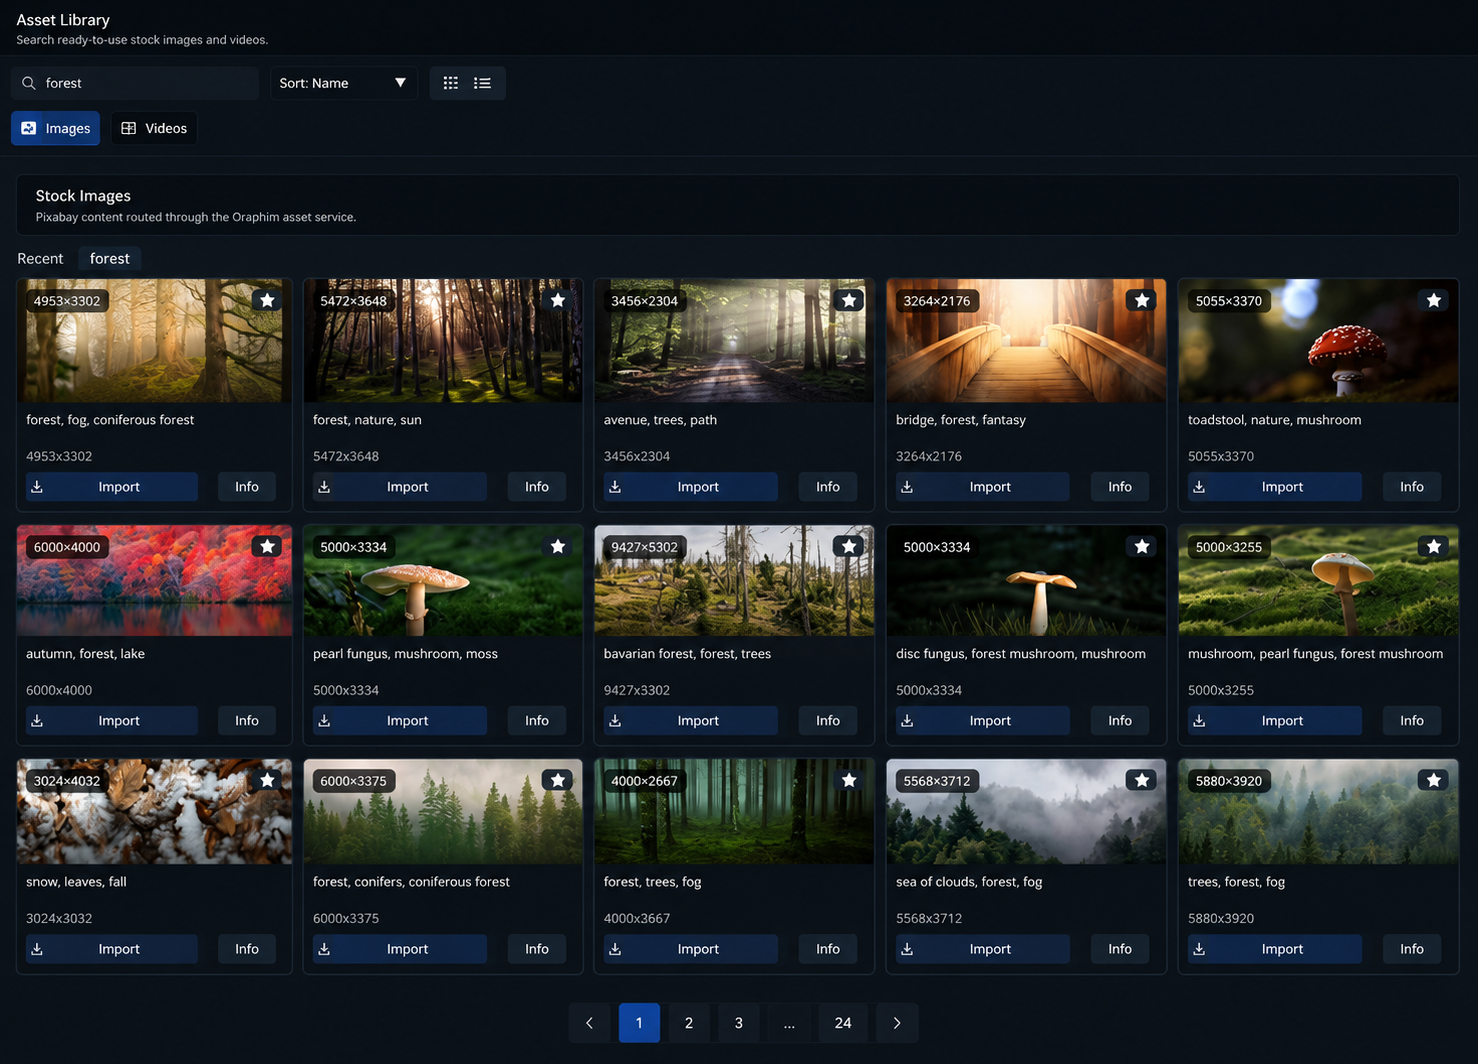
Search broadly first, then narrow by the visual need of the shot rather than collecting assets without a placement plan.
Search behavior
Search input is debounced so normal typing does not create a request for every keystroke. When a query changes, obsolete work is ignored and the newest result set remains authoritative.
Suggestions and history
Suggested and recent searches can be selected directly. Search normalization treats capitalization and repeated spaces as the same query for caching purposes.
More results
Additional pages load as you approach the end of the result grid. Thumbnail decoding and network work happen outside the UI thread.
Errors
If the Oraphim asset service cannot be reached, use Retry. Local media import and the rest of the editor remain available.
Use Searching Assets in a production project
- Open Asset Browser and select the intended asset search or imported result.
- Establish the correct input state first—timing, media link, layer/node enable state, project settings, or source selection as relevant.
- Apply or adjust Searching Assets with one clear goal. Change the smallest set of controls needed to reach that goal so the result remains understandable and reversible.
- Review the complete affected range in context. Scrub difficult frames and also play at normal speed when motion or audio is involved.
- Save a named milestone before moving into another major operation, especially after graph changes, tracking, AI processing, relinking, simulation, or delivery setup.
Practical guidance
Use searching assets only where it solves a defined creative or technical problem, and compare the result against the untreated state.
A useful test is a short 5–10 second section containing both an easy case and a difficult case for this feature. Tune against the difficult moment without breaking the easy one. If two approaches are plausible, duplicate/version the project state and compare them rather than stacking both together blindly.
Verify the result
- Confirm the downloaded asset appears in the Media Pool with usable metadata and preview.
- Toggle/bypass the operation where possible and make sure the change you intended is actually responsible for the result.
- Check selection, visibility/mute/solo state, node connections, track locks, range, and source identity when the result appears missing.
- Save and reopen before treating a complex setup as reusable.
- If this feature changes final pixels or audio, render a short review and inspect the file outside Oraphim.