
Getting started
Getting started
Create a project, import media, make a first edit, and export a verified file.
Updated August 27, 2026Getting started with Oraphim
Oraphim is a native Windows editor that keeps editing, compositions, color, VFX, audio controls, captions, and delivery inside one project.
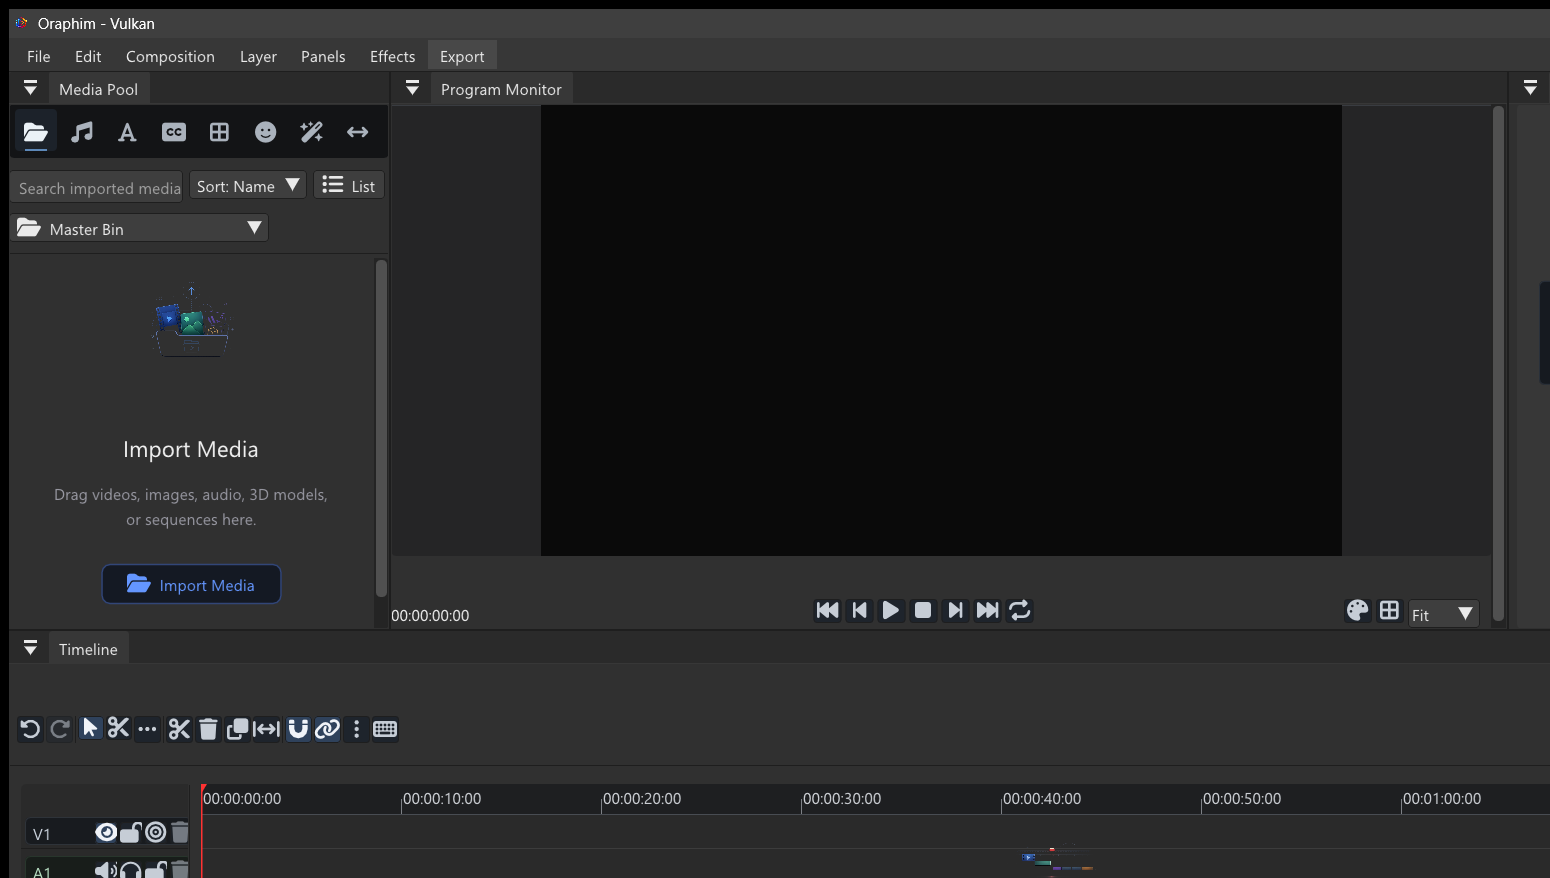
Your first ten minutes
- From the Project Hub, choose New Project.
- Name the project, choose its folder, frame size, frame rate, and color space, then select Create Project.
- In Edit, select Import Media and add a video, image, or audio file.
- Drag the imported item from the Media Pool to the timeline.
- Trim or split the clip, then inspect it in the Program Monitor.
- Open Export, choose YouTube 1080p or another verified preset, set the output path, and add the job to the Render Queue.
- Render the job and play the finished file from beginning to end.
The project model
A project can contain edit timelines, compositions, color work, VFX setups, media references, captions, and queued exports. Changes remain connected; a composition can be reused in the Edit timeline instead of being rendered and re-imported.
Oraphim is currently a Windows public beta. Save meaningful milestones and verify every delivery file before sending it to a client.