
Project management
Project Management Overview
Use project management overview in Oraphim with a production-safe workflow, practical example, verification steps, and common failure checks.
Updated August 28, 2026Project Management Overview
Use project management overview to keep local Oraphim projects recoverable and their linked media available.
Visual reference
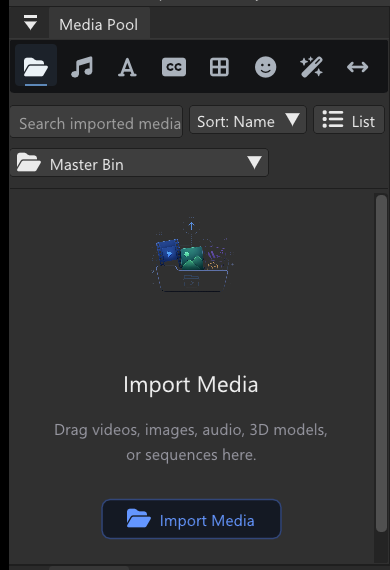
Project management starts with knowing what media is referenced, where it lives, and whether it will still resolve after the project moves.
Workflow
- Save the active project before making structural changes.
- Keep project files, source media, autosaves, and exports in clearly named folders.
- Avoid moving or renaming source files outside Oraphim during an active edit.
- Use recovery or relink controls when Oraphim reports an unavailable project or source.
- Open the recovered or copied project and verify several representative shots.
Verification
Confirm that the project opens, media is online, timelines and compositions are present, and a short export completes from the restored state.
How to use this section
Start in Project Hub / project services with current .orp project and referenced media. Use this section to understand the Project Management workflow before jumping into isolated controls.
Read the overview first, then move into the specific task page that matches what you are trying to produce or fix. Oraphim panels are context-sensitive, so keep the intended clip, layer, node, track, or project resource selected while following a procedure.
Guides in this section
Section-level verification
Reopen the result from disk and confirm project identity, media links, and the intended version. For project-changing operations, save a milestone and reopen it before relying on the setup as a reusable production workflow. For anything that affects delivered pixels or audio, inspect a rendered file as well as the interactive viewer.