
Color
Color management
Configure Oraphim managed color with input, timeline, output, OpenColorIO/ACES, tone-mapping, gamut-compression, and HDR-range controls.
Updated August 28, 2026Color management
Open Color → Color Management (the workspace command is also exposed as Alt+9). Oraphim's current managed-color controls include Use Managed Color, input/output transforms, timeline and output spaces, ACES version, tone mapping, gamut compression, HDR nit ranges, and optional OpenColorIO processing.
Visual reference
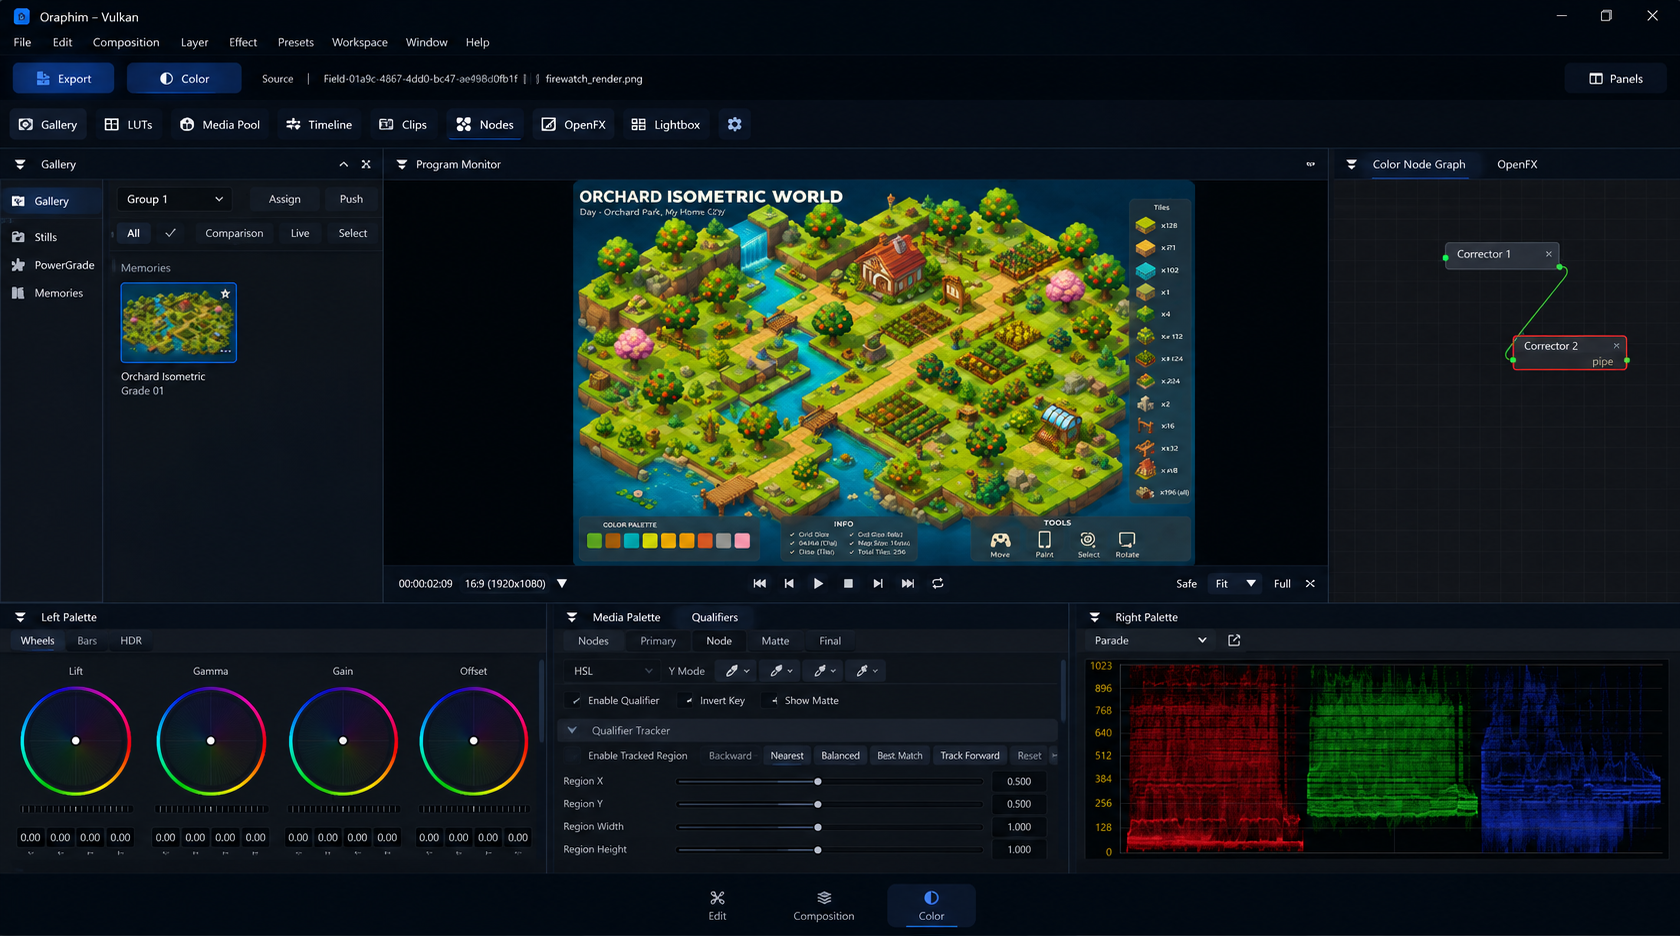
Set color-management intent before fine grading so scopes and creative decisions are evaluated in the intended working/output spaces.
Core managed-color setup
- Select the intended Color source before changing management settings.
- Enable Use Managed Color when the project needs a managed transform path.
- Set the Timeline Space and Output Space from the actual working/mastering requirement.
- Choose Input Transform and Output Transform only where a transform is actually needed.
- Use Tone Mapping, Gamut Compression, Max Input Nits, Max Output Nits, and Adaptation to manage range/gamut deliberately rather than as creative grading shortcuts.
OpenColorIO and ACES
Enable Use OCIO Color Management for the packaged OpenColorIO path. Oraphim exposes packaged ACES configurations, including ACES 2.0 variants, plus Input Space, Working Space, Display, View, Output Space, config path, and optional look controls.
Use the correct source/input identity. A technically wrong input transform can make downstream grading look convincing on one display while remaining wrong everywhere else.
Verify
Check neutral material, highlights, saturated colors, scopes, and final output view. Render a short representative file and verify it in the intended delivery environment before grading an entire project around a new color-management configuration.