
Color
Power windows
Use geometric or custom Color windows to localize a grade, feather the transition, and track moving subjects through the shot.
Updated August 28, 2026Power windows
Power windows restrict a Color node to a spatial region. Use them for faces, skies, practical lights, edge darkening, or any correction that should be localized by position.
Visual reference
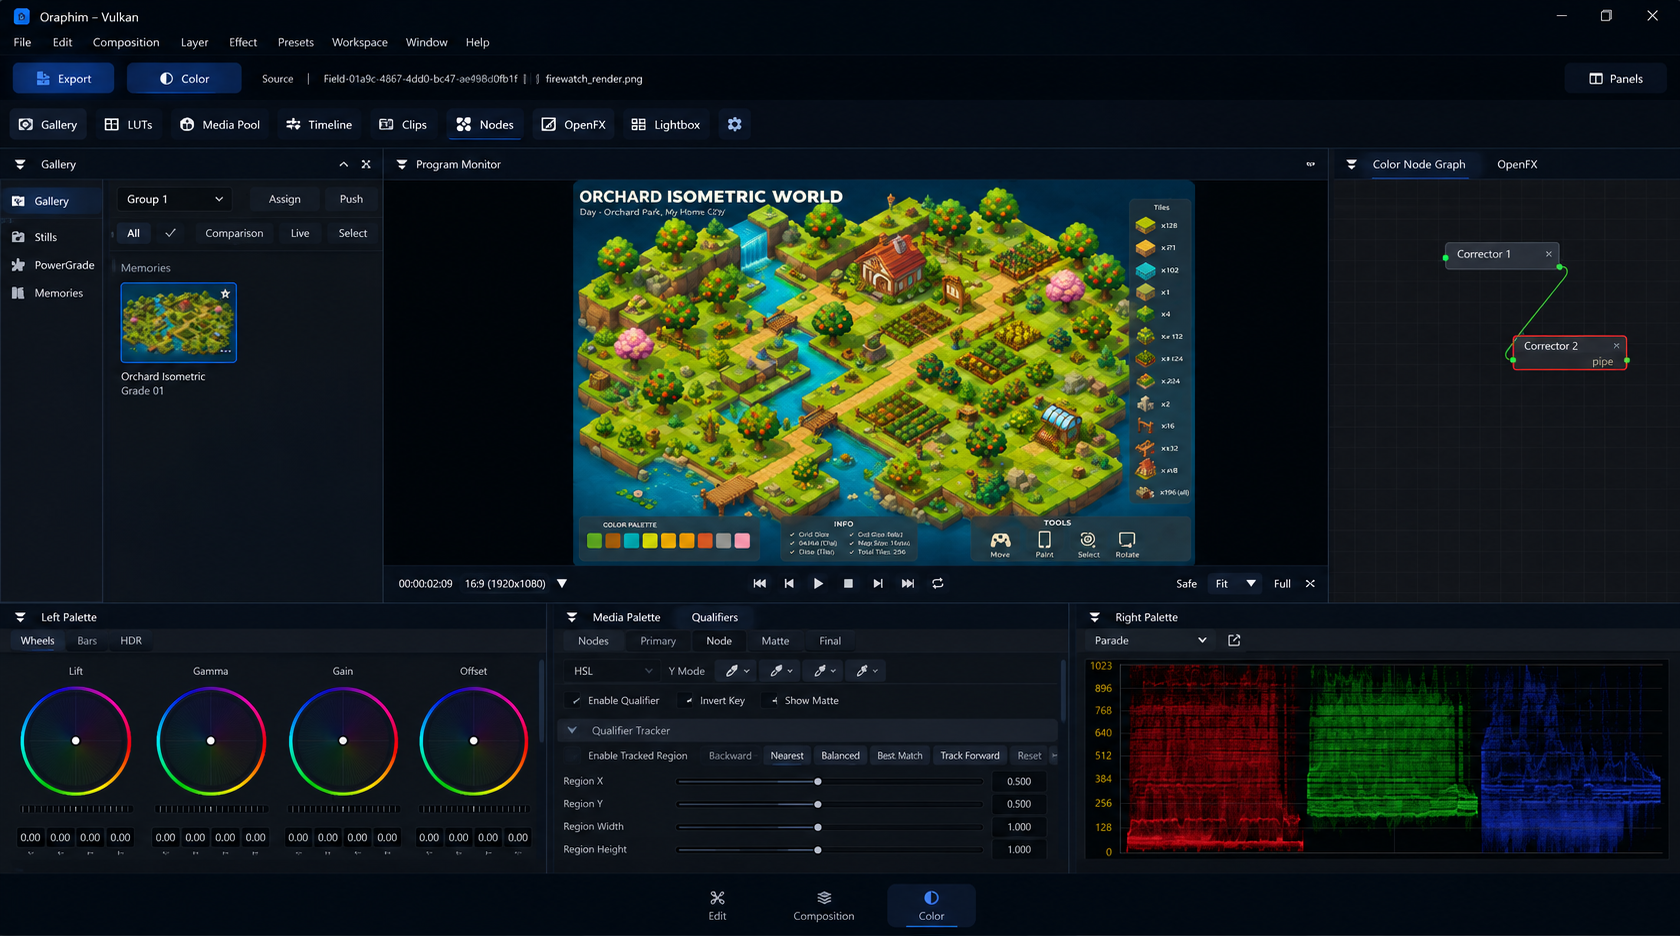
Place the window for the correction you need, soften it enough to integrate naturally, then track only when the subject moves.
Create and refine a window
- Select the Color node that should own the window.
- Add the window shape appropriate to the subject/region.
- Position and size it in the viewer.
- Add feather/softness so the correction blends naturally unless a hard boundary is intentional.
- Use inside/outside behavior deliberately when the correction belongs beyond the selected region.
Combine tools
A window and a qualifier can work together: the window limits the spatial area while the qualifier isolates color/luma within it. This is useful when the same hue appears in several parts of a frame.
Verify
Scrub through the shot before grading aggressively. Watch edges, rapid motion, occlusions and camera moves. If the subject moves, track the window and review the complete track; no tracker should be assumed correct on every frame without inspection.
Window example
To lift a face without raising the whole frame, create a soft window around the face, make a small exposure or color adjustment, and reduce the correction until it integrates naturally. If the face moves, track the window and inspect the track across the full shot. If the correction leaks into the background, refine the window shape/softness or combine it with a qualifier rather than simply increasing the grade.