
Step-by-step projects
Build a procedural energy VFX shot
Create an editable energy effect with a clean procedural graph, motion, particles/trails, light response, color finishing, and verified render.
Updated August 28, 2026Build a procedural energy VFX shot
Goal
Create a 4-second energy effect that travels around or between objects while remaining editable. This exercise teaches a reusable graph workflow rather than a one-click preset.
1. Establish the shot
Use a simple background plate or 3D scene and lock the final framing first. Create the VFX setup at matching dimensions, frame rate, and duration. Save a clean milestone before building the graph.
2. Build the graph skeleton
Start with the source/geometry and the intended renderer/output. Add the minimum nodes required to create a visible path or point stream. Confirm the output after each new node so a later failure has an obvious cause.
3. Create motion
Animate the source or driving field over the 4-second range. Add procedural variation only after the main travel direction is readable. Use a trail or particle branch to preserve motion history and a glow/energy treatment to shape the visual response.
4. Integrate with the scene
Match the effect's scale and perspective to the plate/3D scene. If the energy is bright, add believable light response or a restrained local glow instead of simply raising the effect until it clips. Composite foreground objects/mattes above the effect when it must pass behind them.
5. Optimize before final quality
Reduce particle density, simulation cost, and expensive render quality while tuning timing. Test a difficult 10-20 frame section, then raise density/quality after the motion is approved. Cache only when it meaningfully improves iteration and keep cache validity in mind after parameter changes.
6. Grade and deliver
Use Color for final shot balance after the effect integration works. Keep the energy hue/saturation inside the intended look and preserve detail in bright cores. Render a review, fix temporal or edge issues, then create the required final format.
Verification
Check graph validation, node identities after save/reopen, path continuity, trail/particle stability, occlusion, bright-value clipping, first/last frame behavior, and preview/export parity. The effect is finished when the rendered shot—not just the graph—looks correct.
Example project and visual checkpoint
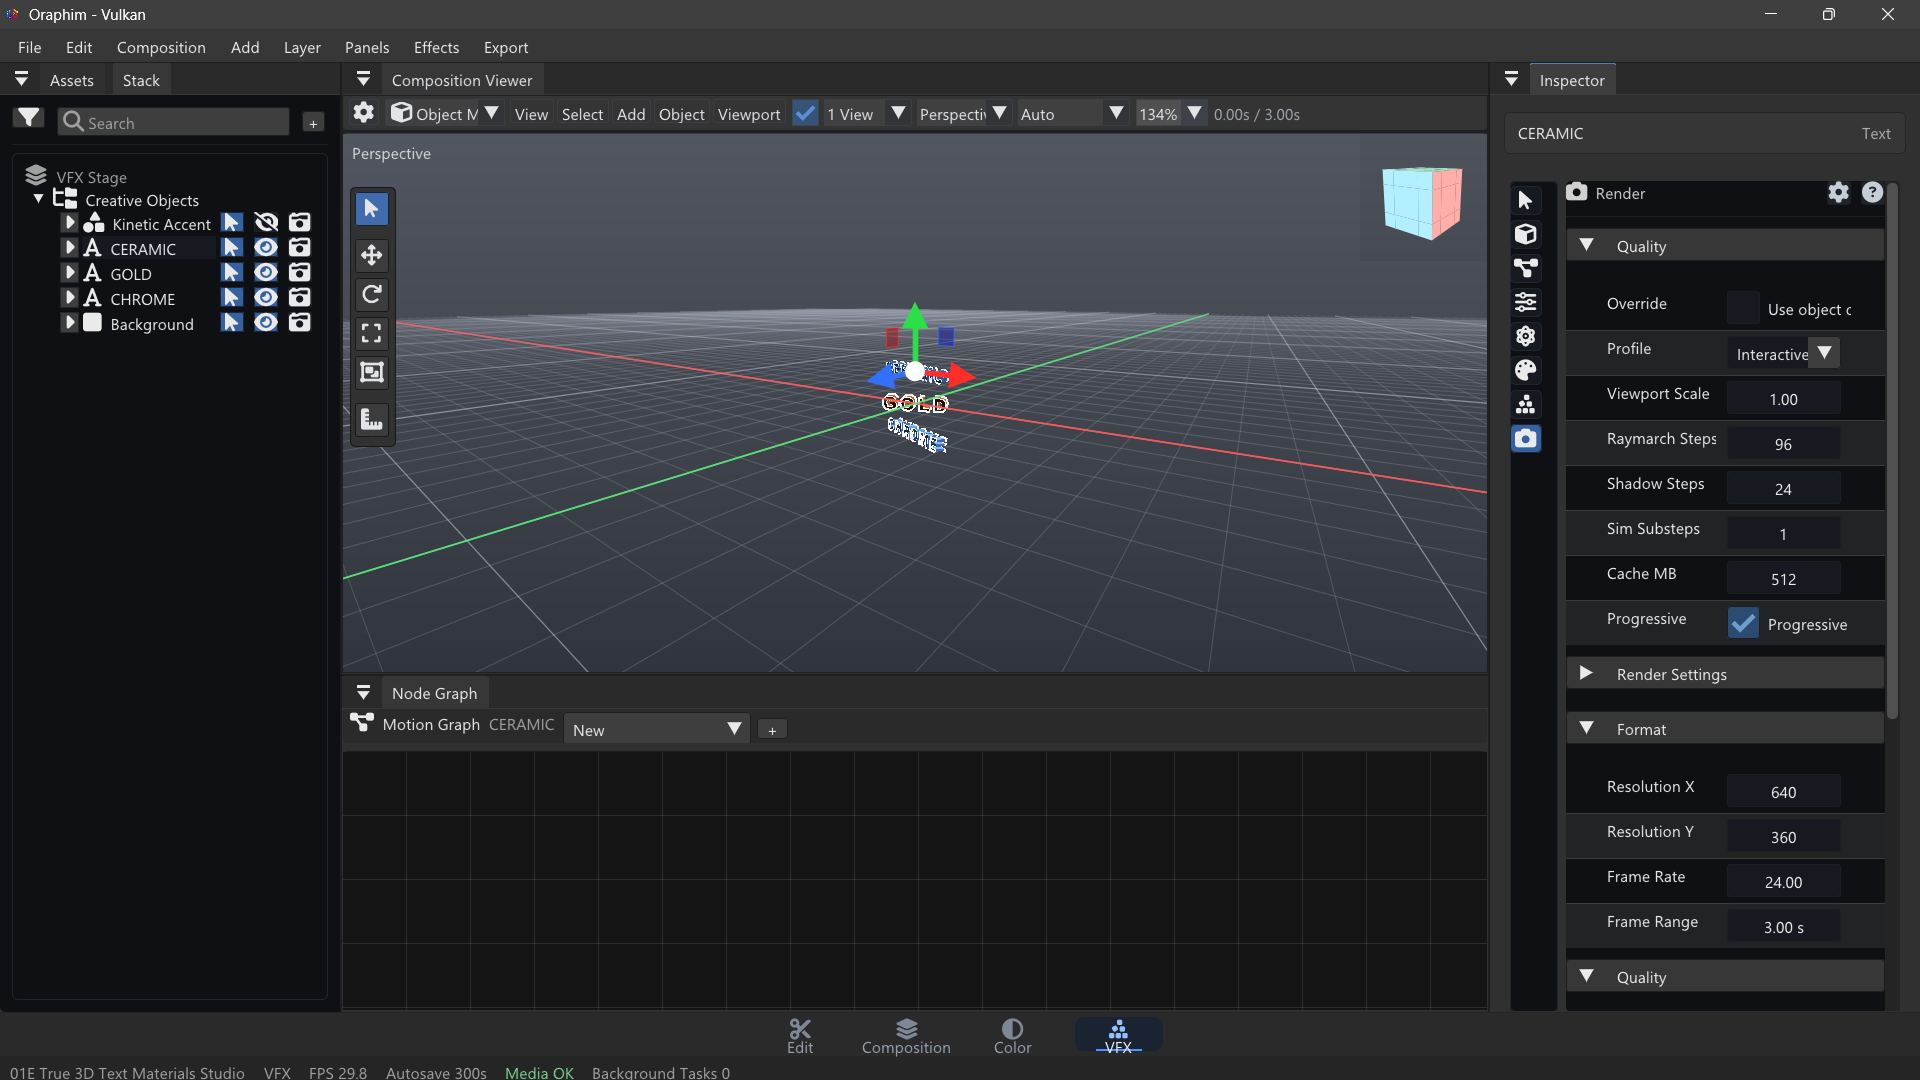
Build a four-to-six-second energy shot around a simple subject or point in space. Separate the graph into source, motion/field behavior, appearance, and output stages. Change one group at a time, cache or test only the range you need, and compare the rendered result against the clean plate so the effect supports the shot rather than hiding it.
Quality check: play or preview the finished section at normal speed, inspect one representative frame at useful zoom, and confirm that the result still works after reopening the project. If the tutorial ends in delivery, export a short test before committing to the final render.