
Step-by-step projects
Ai Assisted Workflow
Use ai assisted workflow in Oraphim with a production-safe workflow, practical example, verification steps, and common failure checks.
Updated August 28, 2026Ai Assisted Workflow
Goal
Complete a small ai assisted workflow project using the current Oraphim interface and finish with a file you can inspect.
Build it
- Create or open a project with the intended frame size, frame rate, and color space.
- Import only the media needed for the exercise.
- Build the main timing in Edit before adding detailed graphics or effects.
- Use Composition, Color, VFX, or audio controls only where the result requires them.
- Save a milestone before the final polish pass.
- Export a short review, correct visible or audible issues, then render the final range.
Verification
Check the opening, ending, transitions, text, audio, color, dimensions, duration, and output filename. The tutorial is complete only when the rendered result matches the intended outcome.
Project method
Use local AI or MCP only for a defined operation, keep permission scope narrow, inspect every mutation, and preserve an undo/save checkpoint before a large batch.
- Define the intended duration, aspect ratio, frame rate, and final delivery before detailed styling.
- Import and organize only the media needed for this exercise, then build the main timing in Edit.
- Add Composition, Color, VFX/3D, audio, or AI operations only when the result requires them. Keep each stage editable until the timing is approved.
- Save a named milestone before the heaviest creative/technical pass.
- Export a short review, watch it outside Oraphim from beginning to end, fix visible/audible issues, then create the final range.
Project QC
Check the opening and ending frames, editorial rhythm, text spelling and safe areas, color consistency, audio transitions/levels, effect edges, first/last-frame behavior, dimensions, duration, and filename. If the project contains 3D, tracking, masks, AI processing, simulations, or a complex graph, save/reopen before final export to prove the authored state survives persistence.
Continue learning
Example project and visual checkpoint
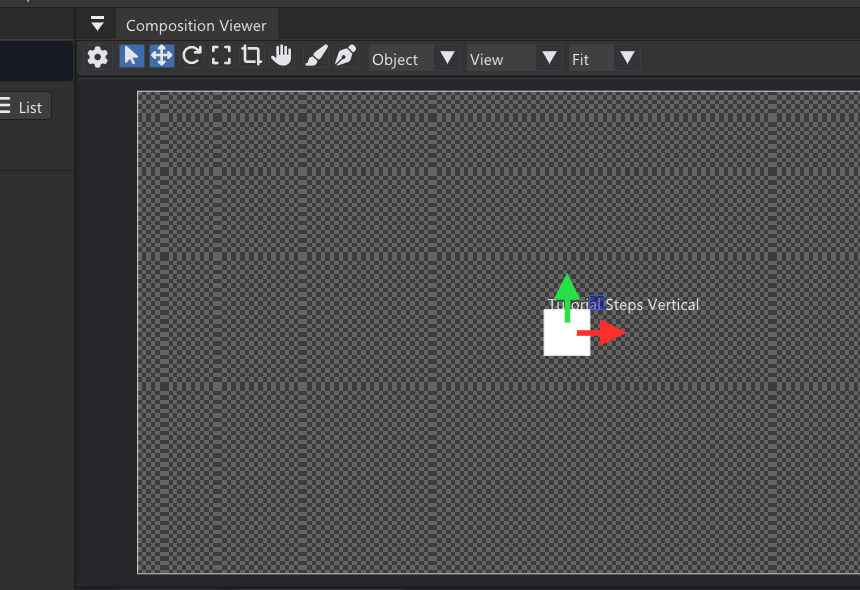
Use AI for a bounded task such as generating a mask with Magic Mask or preparing an object-removal region, then inspect the result frame by frame where the edge changes. Keep a manual correction path available. For MCP-driven authoring, prefer structured project/model tools and verify the project state after the automated operation.
Quality check: play or preview the finished section at normal speed, inspect one representative frame at useful zoom, and confirm that the result still works after reopening the project. If the tutorial ends in delivery, export a short test before committing to the final render.